Generate a Vue component using Plop
Plop is a handy tool for code generation. It uses Handlebars under the hood alongside some provided Handlebars helper functions.
By using a code generation tool like plop, you can avoid writing tedious boilerplate code and be productive right away. It's also great for maintaining consistency across the project and company.
Updated 4 Nov 2020: Added template for Vue 3 syntax.
Setup
Create a Vue project
To make sure you're set up to generate components using Plop, you'll need to have a Vue.js project. You can generate one with Vue CLI or with Nuxt.
Add Plop as a dependency
Run the following to add Plop as a dependency:
npm install --save-dev plop
Add an NPM script
Add a command to call plop from an NPM script, e.g.
{
  "name": "example-project",
  "version": "1.0.0",
  "private": true,
  "scripts": {
    "start": "nuxt-ts start",
    "plop": "plop"
  }
}
Create a Plopfile
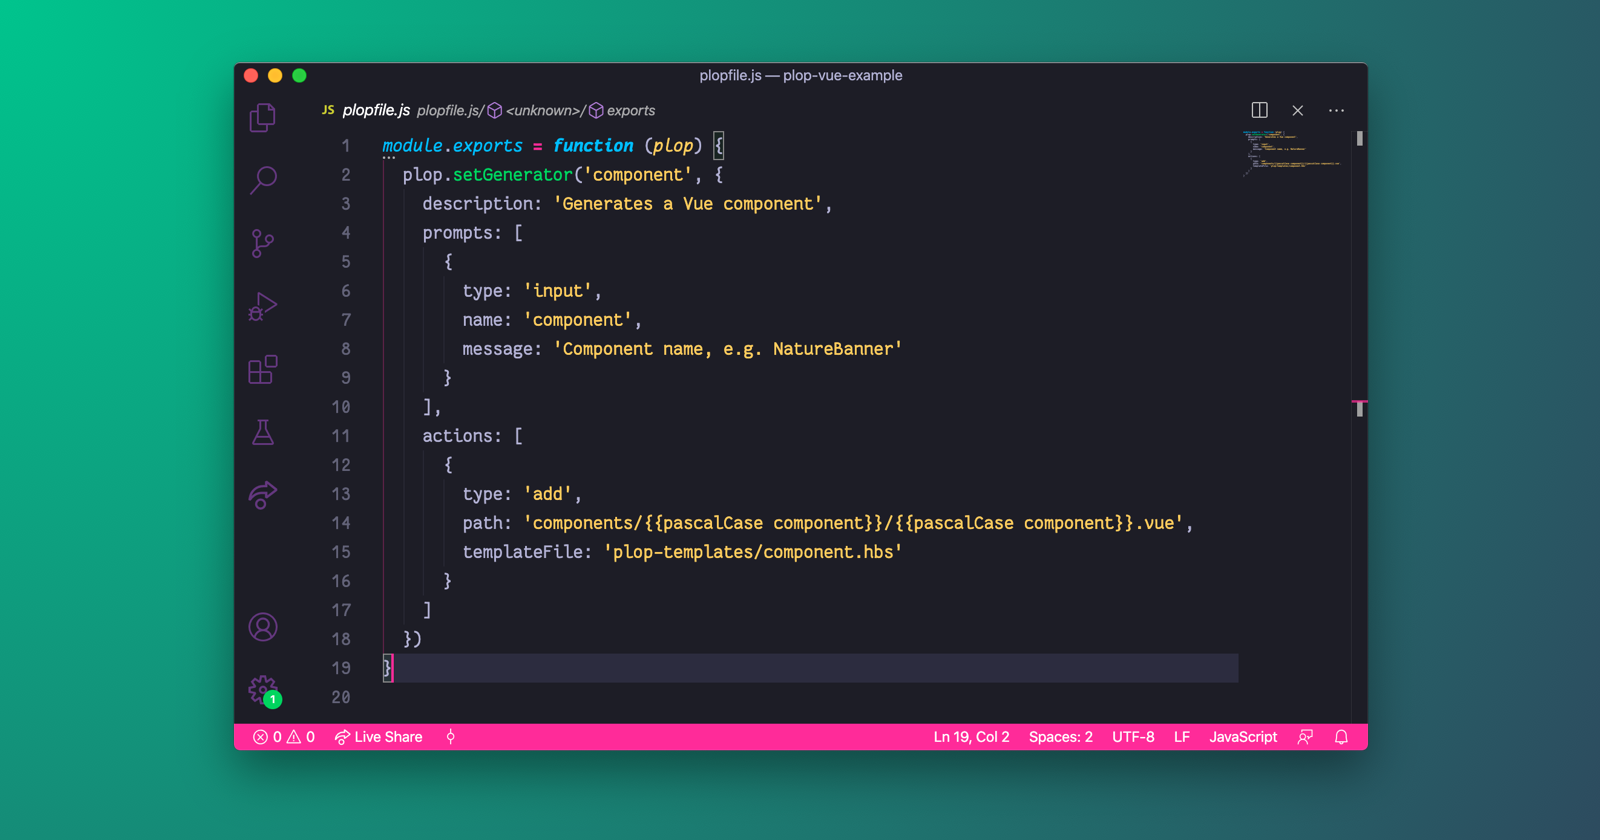
Create a file named plopfile.js in the root of your project. Put the following code in it:
// plopfile.js
module.exports = function (plop) {
  plop.setGenerator('component', {
    description: 'Generates a Vue component',
    prompts: [
      {
        type: 'input',
        name: 'component',
        message: 'Component name, e.g. NatureBanner'
      }
    ],
    actions: [
      {
        type: 'add',
        path: 'components/{{pascalCase component}}/{{pascalCase component}}.vue',
        templateFile: 'plop-templates/component.hbs'
      }
    ]
  })
}
Create a plop template
You'll notice the above plopfile references a template file plop-templates/component.hbs. You will need to create this file.
Vue 2
<template>
  <div class="{{kebabCase component}}">{{pascalCase component}}</div>
</template>

<script lang="ts">
import Vue from 'vue'

export default Vue.extend({
  name: '{{pascalCase component}}',
  props: {}
})
</script>

<style lang="scss">
.{{kebabCase component}} {}
</style>
Vue 3
For Vue 3, we don't need to import or extend Vue:
<template>
  <div class="{{kebabCase component}}">{{pascalCase component}}</div>
</template>

<script lang="ts">
export default {
  name: '{{pascalCase component}}',
  props: {}
};
</script>

<style lang="scss">
.{{kebabCase component}} {}
</style>
These are the differences:
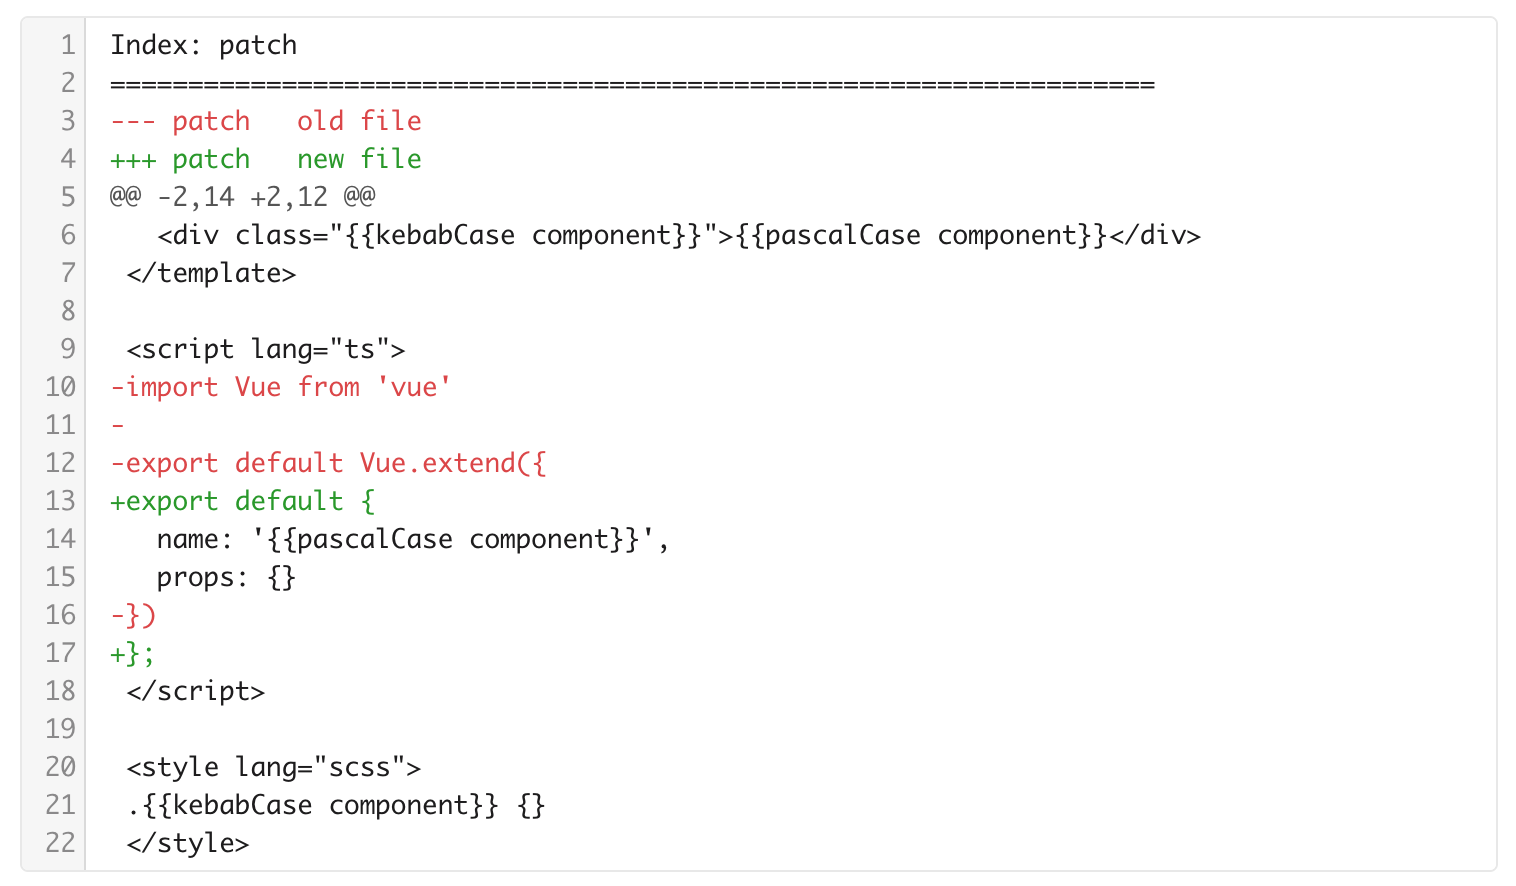
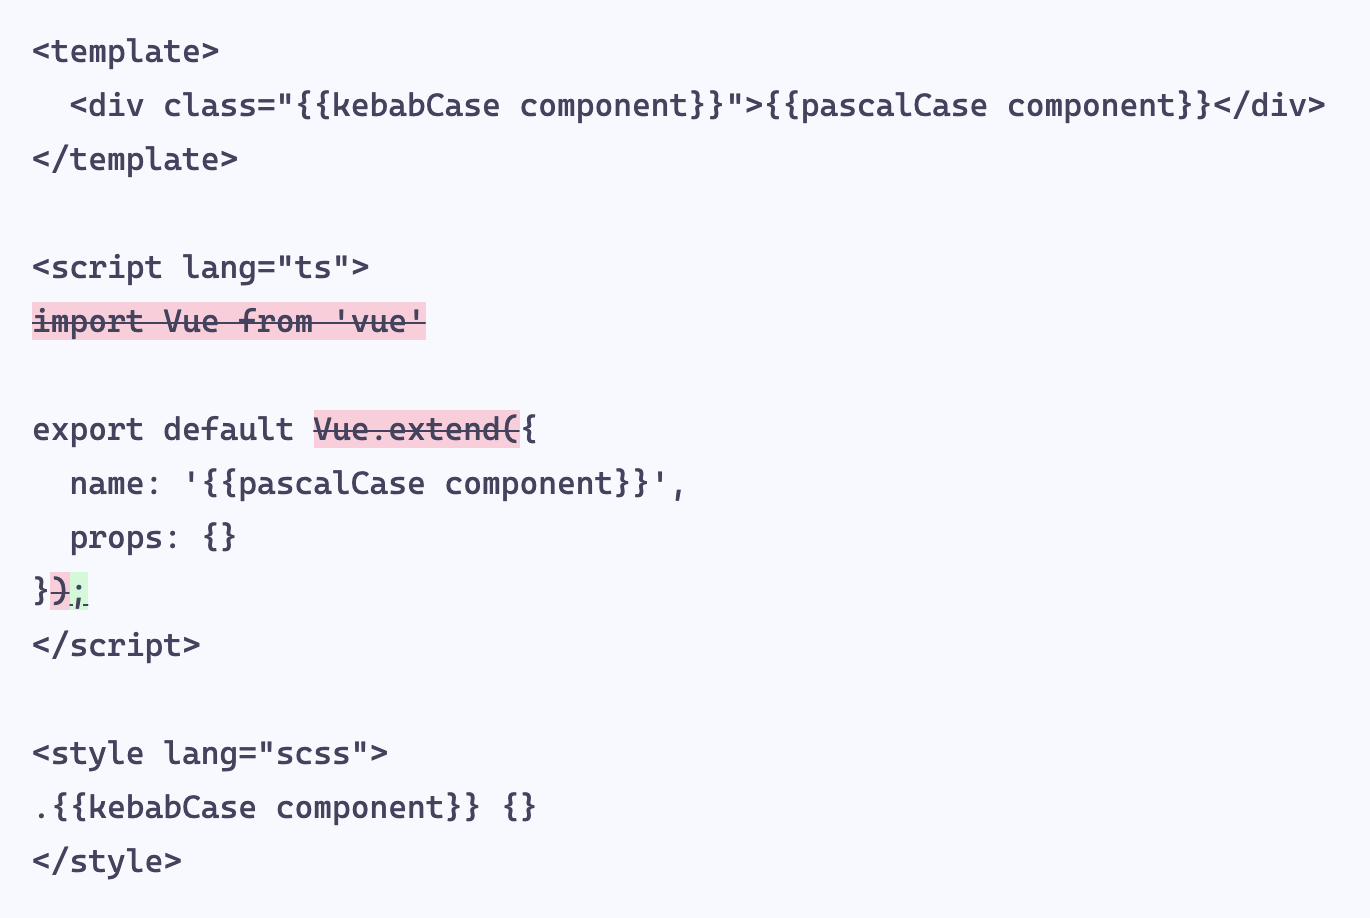
Above diffs generated with TextDiffer.
Note: If you're using Nuxt (or any project set up to use Prettier), you will likely need to disable the "helpful" Prettier JS formatting to avoid destroying your Handlebars file.
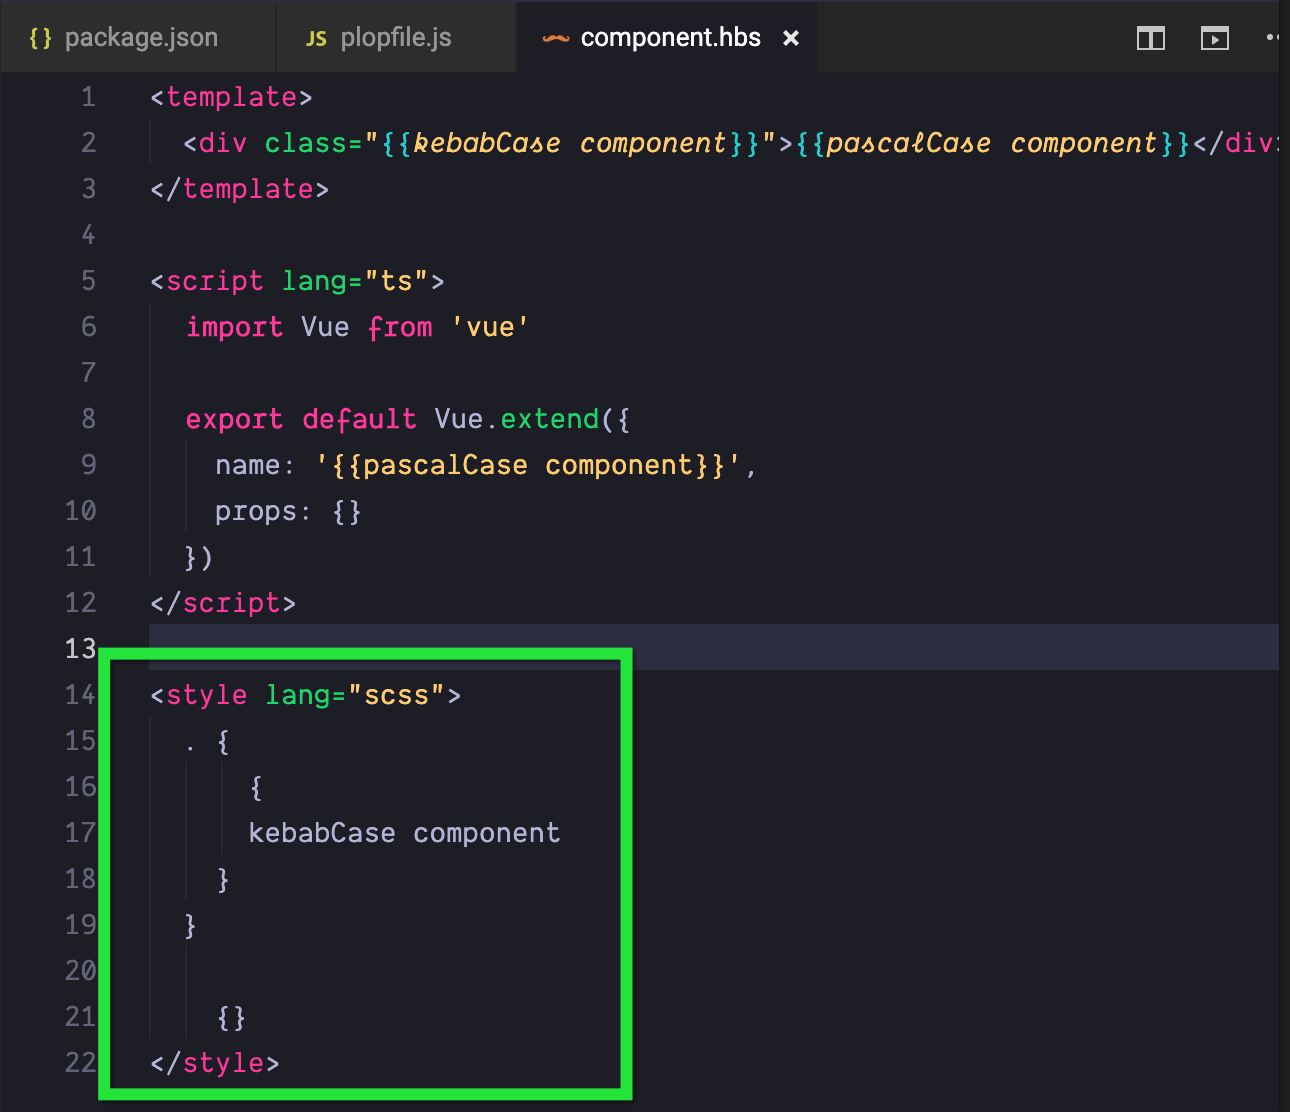
Once you've added all your files, your project should look something like this:
plop-vue-example/
├── package.json
├── plop-templates
│   └── component.hbs
└── plopfile.js

1 directory, 3 files
Run your script
Now all you need to do is run your script to generate a component:
npm run plop
You will be prompted for the component name. Enter it.
You should now have generated a component in the project's component directory:
components/
├── Logo.vue
├── NatureBanner
│   └── NatureBanner.vue
└── README.md

1 directory, 3 files
If you open the file, you should see a Vue component that uses Sass and TypeScript was generated.
<template>
  <div class="nature-banner">NatureBanner</div>
</template>

<script lang="ts">
import Vue from 'vue'

export default Vue.extend({
  name: 'NatureBanner',
  props: {}
})
</script>

<style lang="scss">
.nature-banner {}
</style>
You can see an example without Sass or TypeScript here.
About the author
Hi, my name is Tina! I am a Full Stack Software Developer and Tech Lead from Canada. 🙋🏻♀️
Comments
Join the discussionNeat, thanks for sharing!